
Teal Acrylic Nails: A Splash of Ocean-Inspired Elegance
Teal acrylic nails have become a captivating trend in the world of nail art, offering a blend of sophistication and vibrant beauty. The rich and calming shade of teal evokes images of tranquil oceans and is the perfect canvas for creative nail designs. In this article, we’ll dive into the allure of teal acrylic nails, why they’re gaining popularity, how to achieve this stunning look, and how to maintain professional SEO standards throughout the content.
The Allure of Teal Acrylic Nails
Teal acrylic nails have garnered a dedicated following for several compelling reasons:
- Unique Elegance: Teal is a distinctive and elegant color choice that sets you apart with its rich and captivating hue.
- Versatility: Teal complements a wide range of outfits and occasions, making it suitable for both casual and formal settings.
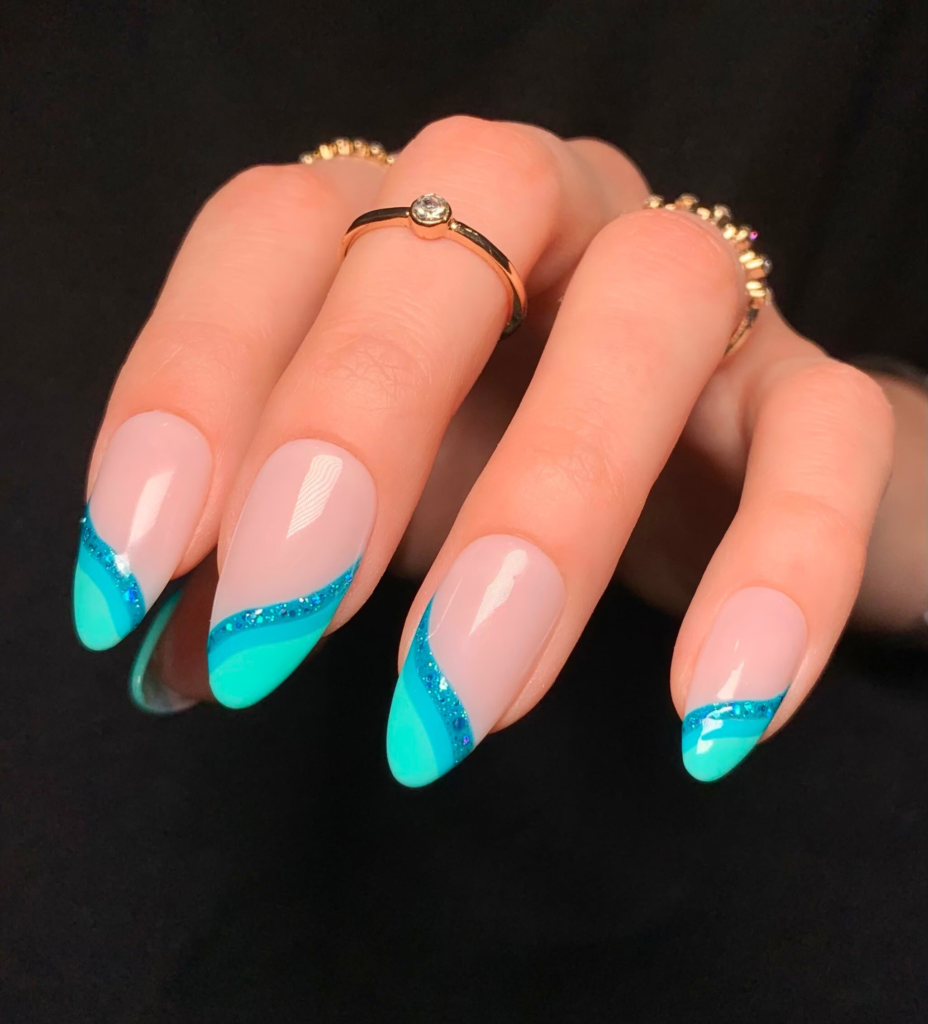
- Ocean-Inspired Beauty: Teal acrylic nails evoke the soothing and mesmerizing colors of the ocean, providing a calming and tranquil aesthetic.
- Creative Expression: Teal serves as an excellent backdrop for various nail art designs, allowing for endless creativity and customization.
Achieving Teal Acrylic Nails
Creating teal acrylic nails is a skillful and rewarding process. Here’s a step-by-step guide to help you achieve this stunning look:
Materials You’ll Need:
- Teal acrylic nail powder
- Acrylic liquid monomer
- Acrylic brush
- Nail tips (if you’re extending the length)
- Nail file and buffer
- Clear topcoat
Step-by-Step Guide:
- Prepare Your Nails: Start with clean, trimmed, and shaped nails. Push back your cuticles and remove any existing nail polish.
- Apply Nail Tips (Optional): If you want to extend the length of your nails, apply nail tips and secure them with nail glue. Trim and shape them to your desired length.
- Acrylic Application: Dip your acrylic brush into the liquid monomer, then into the teal acrylic powder. Apply the mixture to your nails, starting at the base and working towards the tip. Shape and sculpt the acrylic as desired.
- Refine and Smooth: Once the acrylic has dried and hardened, use a nail file and buffer to refine the shape and smooth the surface of your teal acrylic nails.
- Topcoat: Finish your teal acrylic nails with a clear topcoat to seal the acrylic, add shine, and protect your nails.

Maintaining SEO Standards
To maintain SEO standards throughout your content:
- Keyword Placement: Naturally incorporate the main keyword, “teal acrylic nails,” throughout the article, especially in headings, subheadings, and the introduction.
- Quality Content: Provide valuable and informative content that genuinely addresses the topic.
- Engaging Title and Meta Description: Craft an attention-grabbing title and meta description that accurately represent the article’s content.
- Avoid Repetition: While it’s important to include the keyword, avoid excessive repetition; instead, focus on creating a coherent and engaging narrative.
Teal acrylic nails offer a captivating and elegant way to embrace the beauty of the ocean’s hues in your nail art. Whether you prefer a simple and classic teal look or want to experiment with intricate nail designs, these nails reflect your impeccable style and creativity. By following the steps outlined in this article and maintaining SEO standards, you can confidently flaunt teal acrylic nails that exude a splash of ocean-inspired elegance and leave a lasting impression wherever you go.

