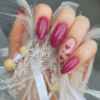
Kids Press On Nails: Safe, Fun, and Stylish
As kids explore the world around them, they often look for ways to express their unique personalities and creativity. One trend that has gained popularity among young fashionistas is kids’ press-on nails. In this article, we’ll delve into the world of kids’ press-on nails, discussing what they are, why they’re a great choice, and how to ensure a safe and enjoyable experience for your child.
What Are Kids’ Press-On Nails?
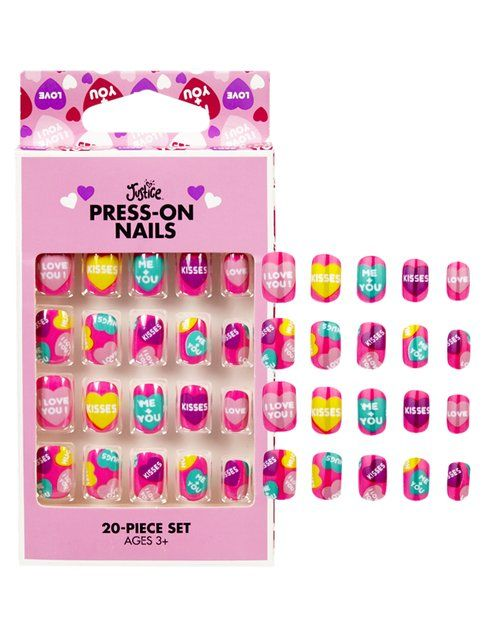
Kids’ press-on nails are temporary nail enhancements designed specifically for children. They are pre-designed or blank nail tips that can be easily attached to a child’s natural nails without the need for glue or adhesives. These nails often come in a variety of colors, patterns, and shapes to suit different tastes and occasions.
Why Choose Kids’ Press-On Nails?
- Safety First: Kids’ press-on nails are a safe alternative to traditional nail polish or acrylic nails. They don’t require harsh chemicals or adhesives that can be harmful to young nails.
- Temporary Fun: Children love to experiment with different styles, and press-on nails provide a temporary way for them to explore their creativity without a long-term commitment.
- Easy Application: Press-on nails are easy to apply, making it a fun DIY activity for kids and parents to do together. No need for professional nail technicians.
- Variety of Designs: Kids’ press-on nails come in a wide range of designs, from simple solids to playful patterns featuring favorite characters and themes.
- No Mess: Unlike traditional nail polish, press-on nails don’t require drying time, reducing the risk of smudging or messy accidents.
Choosing the Right Kids’ Press-On Nails
When selecting press-on nails for your child, consider the following:
- Size: Ensure the press-on nails fit your child’s nail beds properly. Oversized or too-tight nails can be uncomfortable.
- Design: Let your child choose the designs they like. This allows them to express their style and preferences.
- Material: Opt for press-on nails made from non-toxic and kid-friendly materials to ensure safety.

Applying Kids’ Press-On Nails: A Step-by-Step Guide
- Prepare Your Child’s Nails: Start with clean, dry nails. If needed, trim and file your child’s natural nails to the desired length.
- Select the Right Size: Choose press-on nails that match the size and shape of your child’s natural nails.
- Peel and Stick: Most kids’ press-on nails come with adhesive tabs or stickers. Simply peel off the backing and press the nails onto your child’s natural nails, holding each nail firmly for a few seconds to ensure a secure bond.
- Finishing Touch: If desired, you can apply a clear topcoat for added shine and longevity.
- Enjoy: Your child’s new press-on nails are now ready to show off to friends and family!
Safety Precautions
While kids’ press-on nails are generally safe, it’s essential to follow these safety precautions:
- Supervision: Young children should be supervised during application and removal to prevent accidental ingestion or misuse.
- Limit Use: Encourage your child to use press-on nails occasionally rather than constantly to allow their natural nails to breathe.
- Gentle Removal: To remove press-on nails, gently peel them off from the side, avoiding any forceful pulling.
Kids’ press-on nails offer a fun and safe way for children to experiment with nail art and express their creativity. By choosing high-quality, non-toxic options and following proper application and safety guidelines, you can ensure your child has a delightful and stylish nail experience that allows them to shine with confidence and personality.