Crafting Elegance: A Step-by-Step Guide on How to Make Earrings
Creating your own earrings is a delightful way to express your style and creativity. Handmade earrings can be unique, personalized accessories that reflect your personality. Whether you’re a beginner or an experienced crafter, this article will guide you through the process of making earrings, from selecting materials to assembling your final masterpiece.
Materials You’ll Need:
Before you begin, gather these essential materials:
- Earring hooks or studs
- Beads, charms, or pendants
- Jewelry pliers (round-nose and flat-nose)
- Jump rings
- Earring backs (if using studs)
- Wire cutters
- Jewelry glue (optional)
- Design inspiration
Step-by-Step Guide: How to Make Earrings:
1. Design and Inspiration:
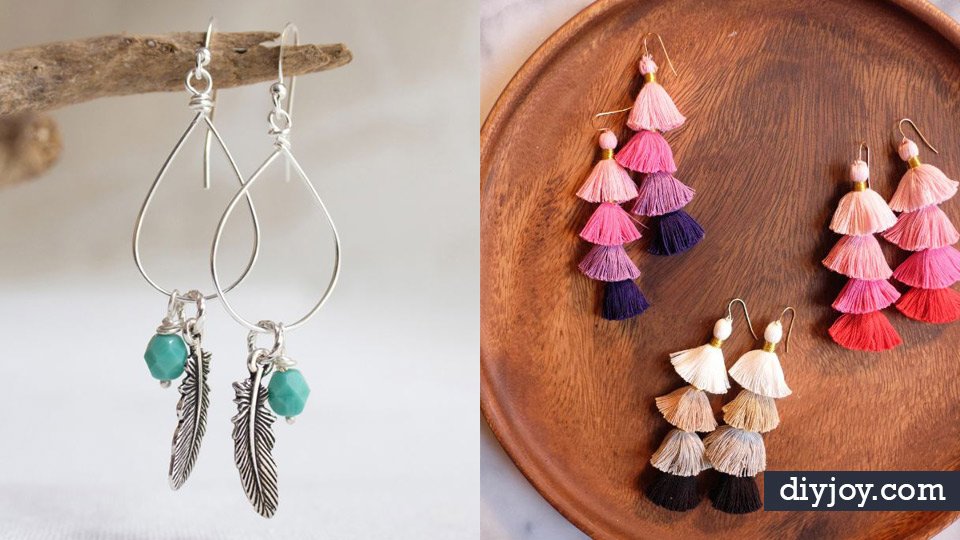
- Start by envisioning the type of earrings you want to create. Are you aiming for dainty studs, elegant dangles, or bold statement pieces? Browse online platforms or magazines for design inspiration.
2. Choose Your Materials:
- Select beads, charms, pendants, or any decorative elements that match your design. Consider color combinations, textures, and shapes to achieve the desired aesthetic.
3. Prepare Your Workspace:
- Set up a well-lit, organized workspace with all your materials within reach. This will ensure a smooth crafting experience.
4. Measure and Cut:
- Use wire cutters to trim any excess length from earring hooks or studs, ensuring they are of the desired length for your earrings.
5. Bead Arrangement:
- Plan the arrangement of your beads or charms on a flat surface before starting to assemble. Experiment with different combinations until you’re satisfied with the design.
6. Opening Jump Rings:
- Use flat-nose pliers to gently open a jump ring by twisting it sideways. Never pull the ring apart as it can distort the shape.
7. Adding Beads:
- Thread your beads onto the open jump ring. If you’re using multiple beads, arrange them in the desired order. Once your beads are in place, close the jump ring securely.
8. Attach to Earring Hook:
- Open another jump ring and attach it to the loop of your bead arrangement. Then, attach the jump ring to the earring hook or stud. Close the jump ring to secure the earring.
9. Repeat the Process:
- Repeat the above steps to create the second earring, ensuring both earrings match in design and length.
10. Adding Earring Backs (For Studs):
- If you’re creating stud earrings, attach earring backs to the posts using round-nose pliers. This ensures a snug fit on your earlobes.
11. Final Touches:
- Inspect your earrings for any sharp edges or irregularities. Use pliers to adjust any components if necessary.
12. Finishing Touches (Optional):
- If you want added security, dab a small amount of jewelry glue onto the jump rings to prevent them from opening accidentally.
Creating your own earrings can be a fulfilling and enjoyable endeavor that results in beautiful, customized accessories. By following this step-by-step guide and letting your creativity shine, you’ll craft earrings that reflect your style and personality. Embrace the art of earring-making as a way to showcase your creativity and express your individuality through elegant and unique accessories that you can proudly wear and share.

